How To Start Printing T-Shirts at Home
T-Shirts are a staple in many people's wardrobes. If you're looking to start a t-shirt printing business from home, you may be wondering, how do I get started printing t-shirts at home?
Believe it or not, is surprisingly easy to add custom designs to t-shirts Today we're going to show you the three simple steps to print your own t-shirts at home.
But first, what do you need?
There are only 3 things you need to print t-shirts at home. A heat press, some heat transfers, and some blank t-shirts.
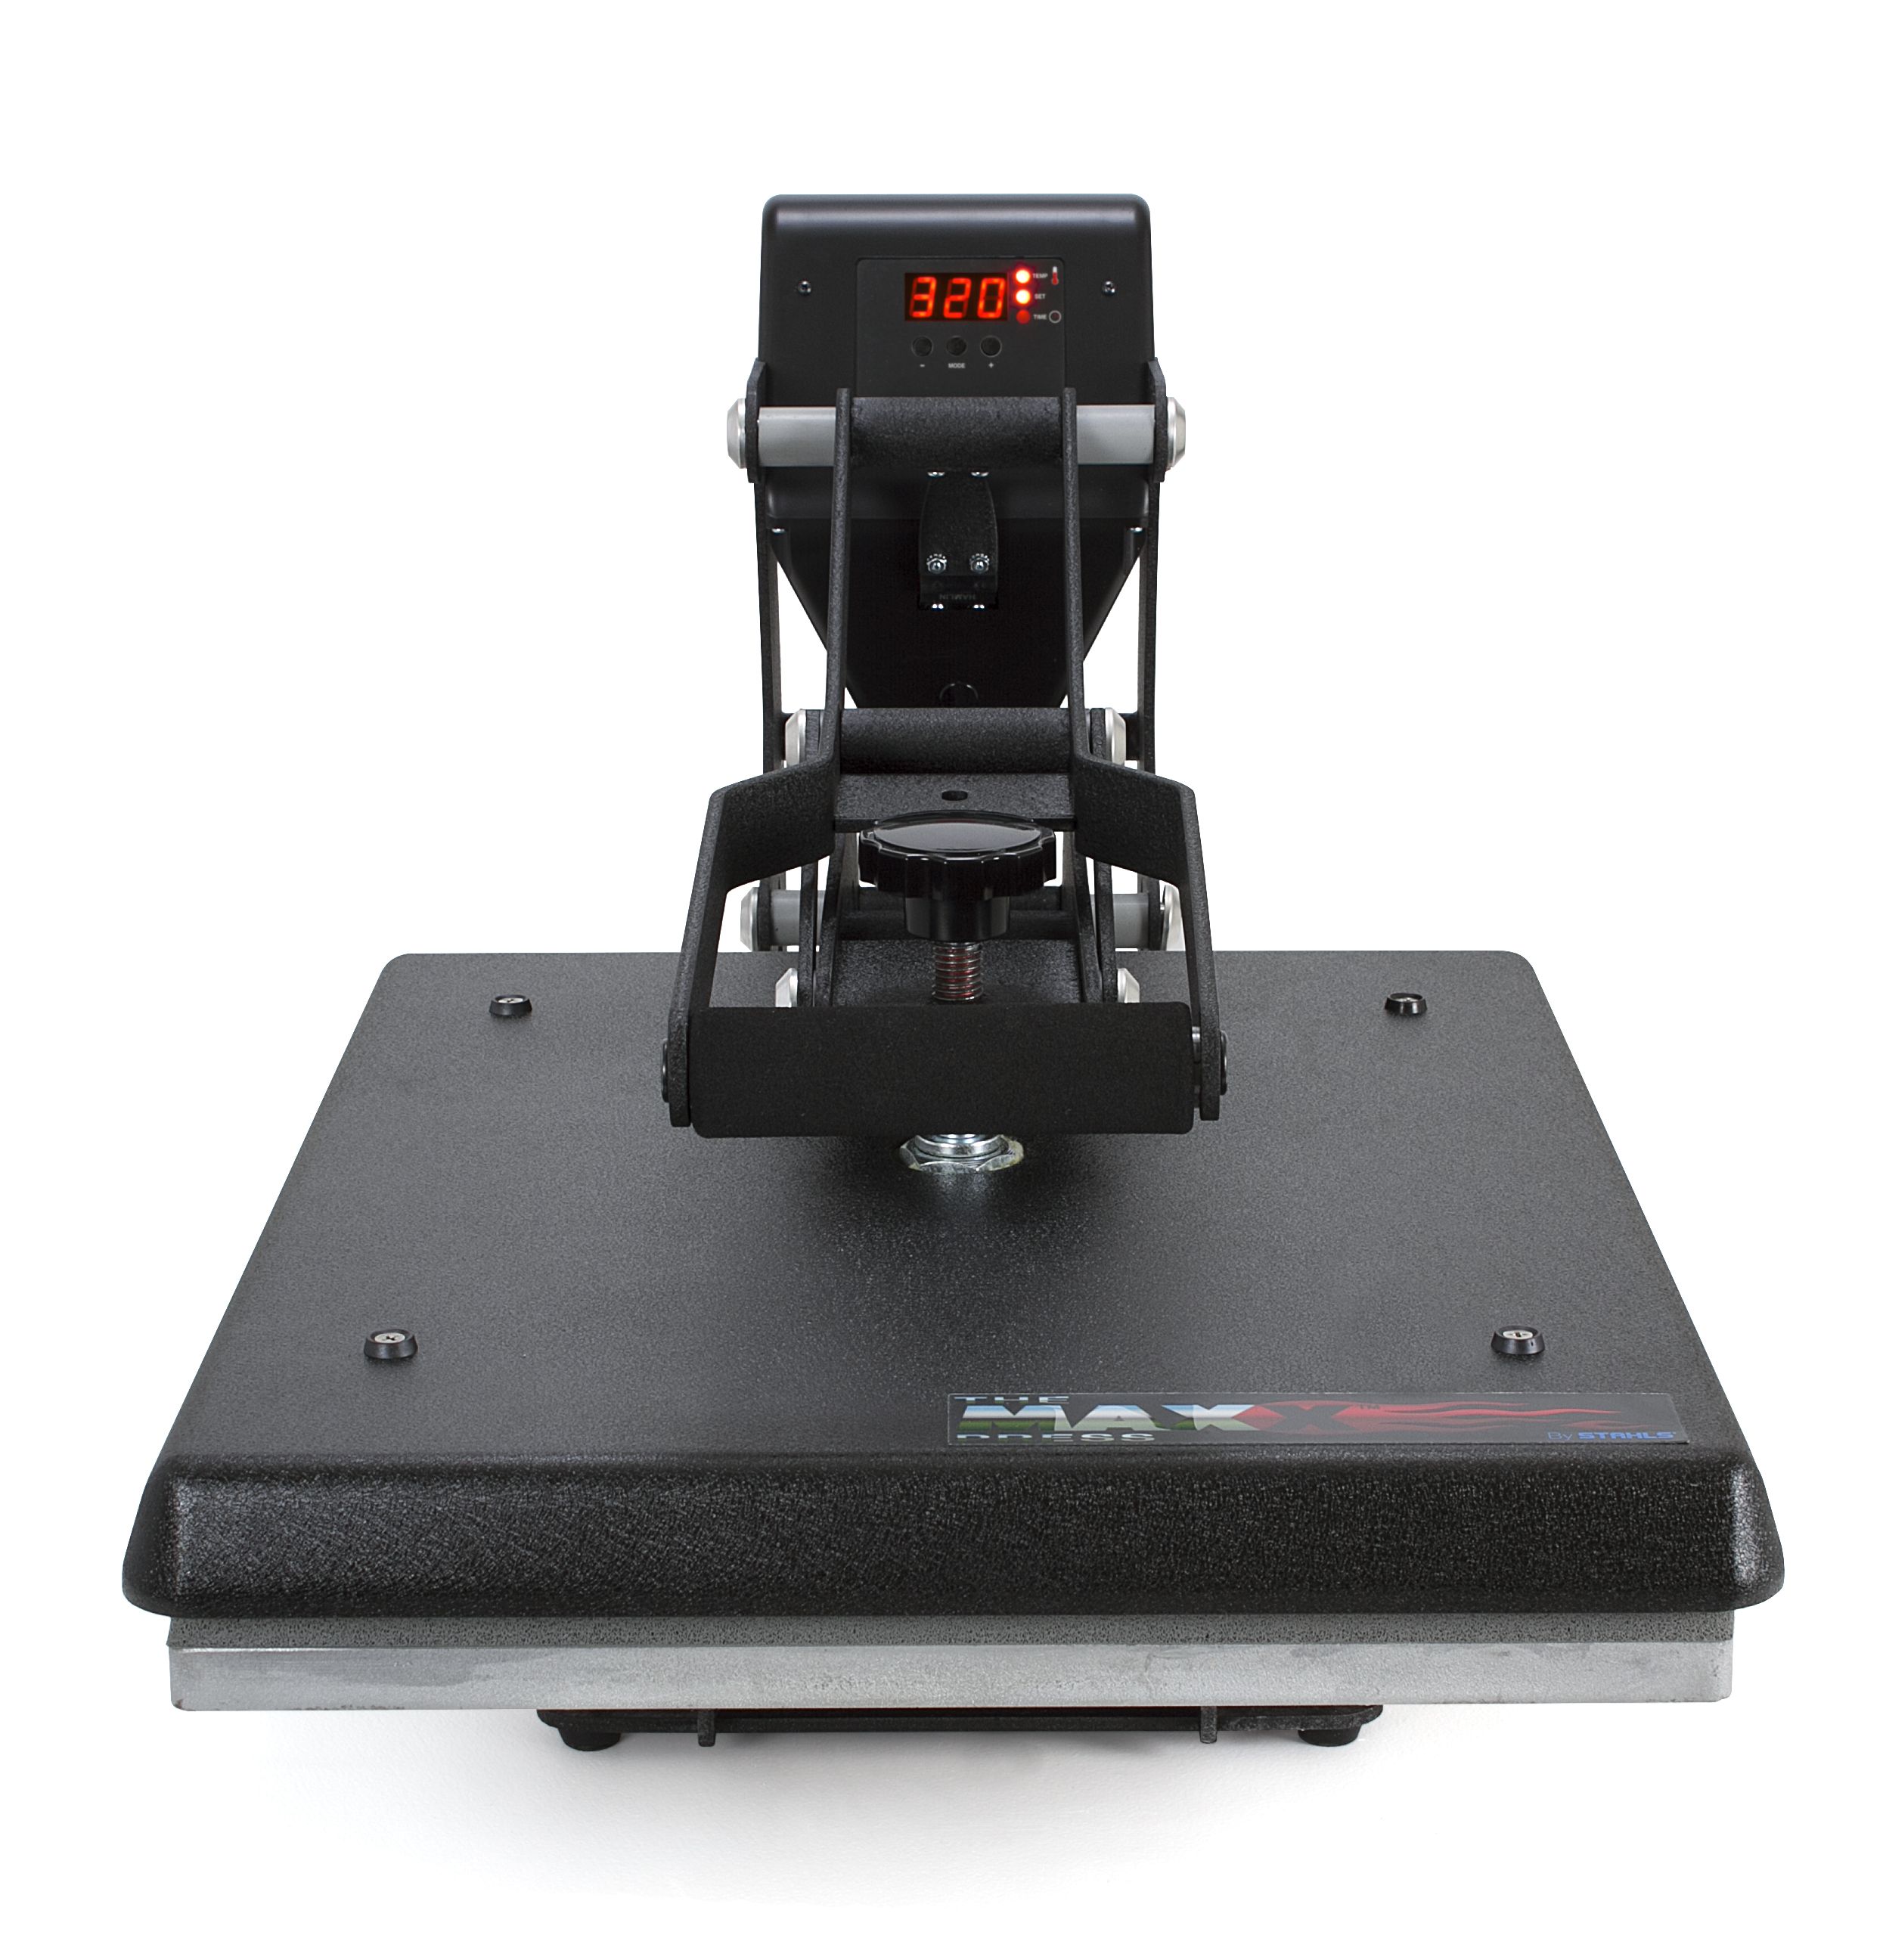
The Heat Press
A Heat Press is the main piece of equipment for your business, and compared to start-up costs in other side hustles, is very affordable.
With machines starting from £425, you can be set up and ready to go for less than £1,000.
The Heat Transfers
Regardless of your design, we have a heat transfer that can handle it. From single colors to gradient blends and full-color photo prints, our heat transfers can do it all.
All you have to do is upload your design to our online Easy View portal and we'll take it from there. Sending you your designs as transfers 2 days later, ready to be applied.
The Blank T-Shirts
There are a lot of options when it comes to buying blank apparel. Luckily we have the inside scoop for the best blanks to buy for your business. Click HERE to find out the latest trends for apparel with Bella + Canvas.

How Do I Actually Print T-Shirts at Home?
Once you have all of your equipment, there are just 3 simple steps to printing onto your t-shirts.
Step One: Pre-Press
Load the garment onto the heat press and pre-press it for 5 seconds before the transfer is applied. This allows you to remove any creases and/or moisture from the garment, creating the perfect surface for a flawless transfer application.
Step Two: The Application
Place your transfer where you want it to go on the t-shirt. (If you're worried about the transfer moving, use heat tape to secure). Fuse the transfer for the recommended time at the recommended temperature, at medium pressure (4-6 on Hotronix Presses). (All application instructions are sent with your transfer orders).
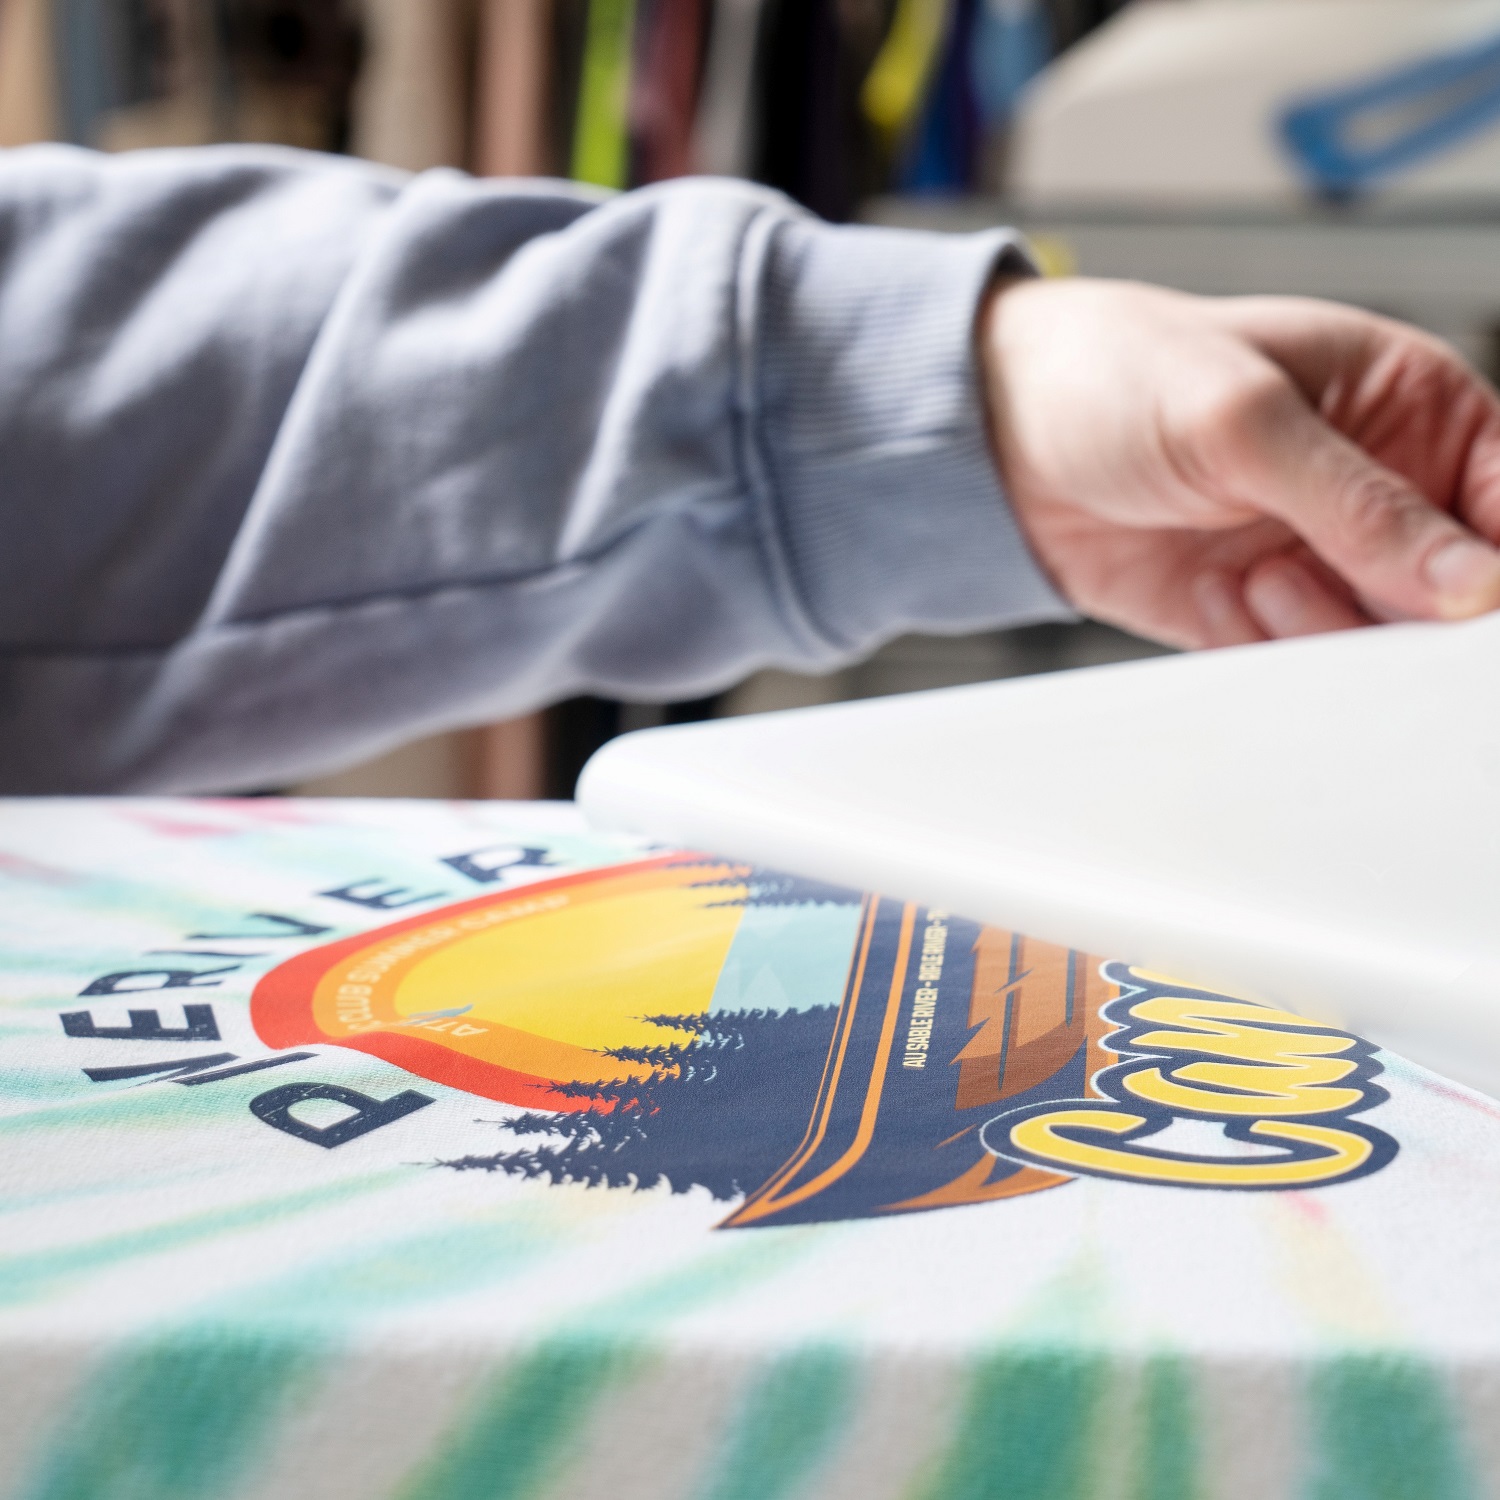
Step Three: The Peel
When the fuse is complete, peel away the carrier to reveal your finished t-shirt. That's it! Your t-shirt is done and ready to be sent to the customer. No second fuse is needed, it's that quick and easy.
Some transfers are a hot peel while others are cold. Note the specific application instructions prior to application.
*We recommend you wait 24-48 hours before washing the t-shirt, to allow the adhesive to really set with the fibers of the t-shirt.
How Do I Order my Heat Transfers?
With our online designer and ordering system Easy View, ordering transfers has never been easier. You can no upload, quote and order heat transfers online 24/7 at a time and place that suits you. Just head to Custom.TargetTransfers.com and place your order.