A Heat Printing guide to Left Chest T-shirt Placement
A Heat Printers guide to Left Chest placements.
Where should you place your heat transfers?
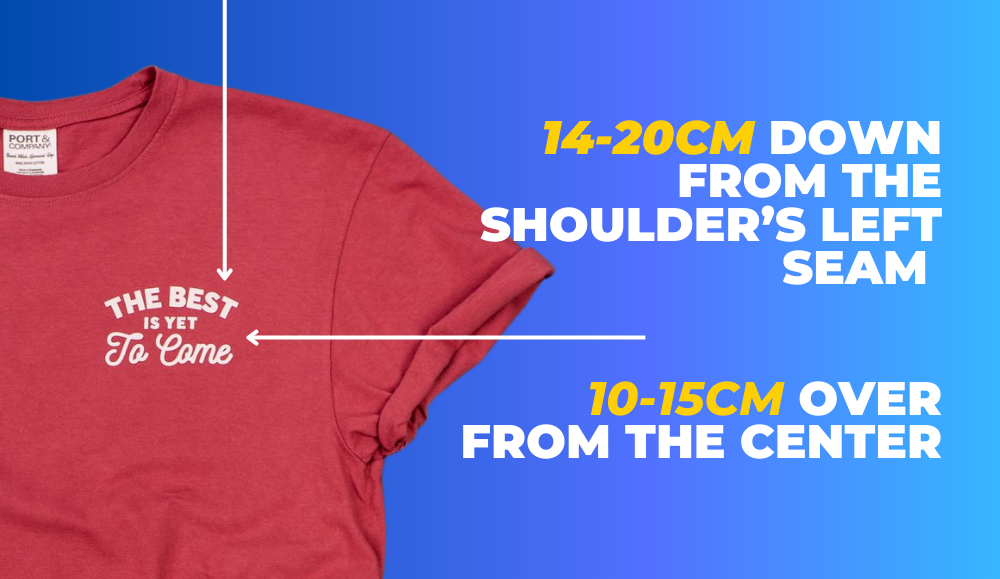
Depending on what size your garment is, you should be placing your left chest design approximately 14-20cm down from the shoulders left seam and 10-15cm over from the centre in the left direction. These measurements will change slightly with every different size of shirt that you print.
What size should a left chest transfer be?
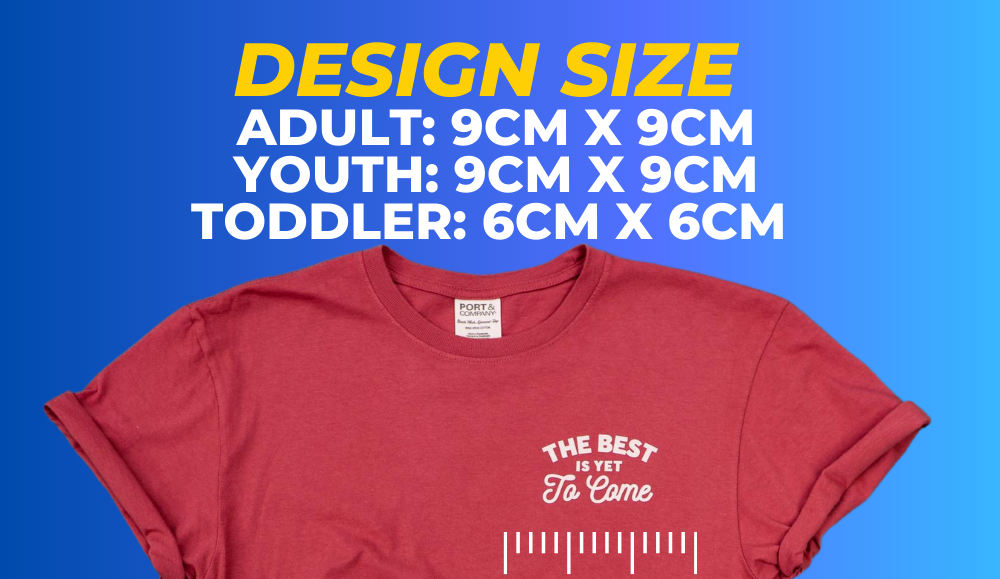
While on the subject of sizing, the standard size for an adult left chest design is 9cm x 9cm. This is also applicable to most youth garments but will need to be reduced to 6cm x 6cm for toddler and baby garments.
If you own a Hotronix heat press, check out our 10x10cm interchangeable platen which will help isolate your print area for this size
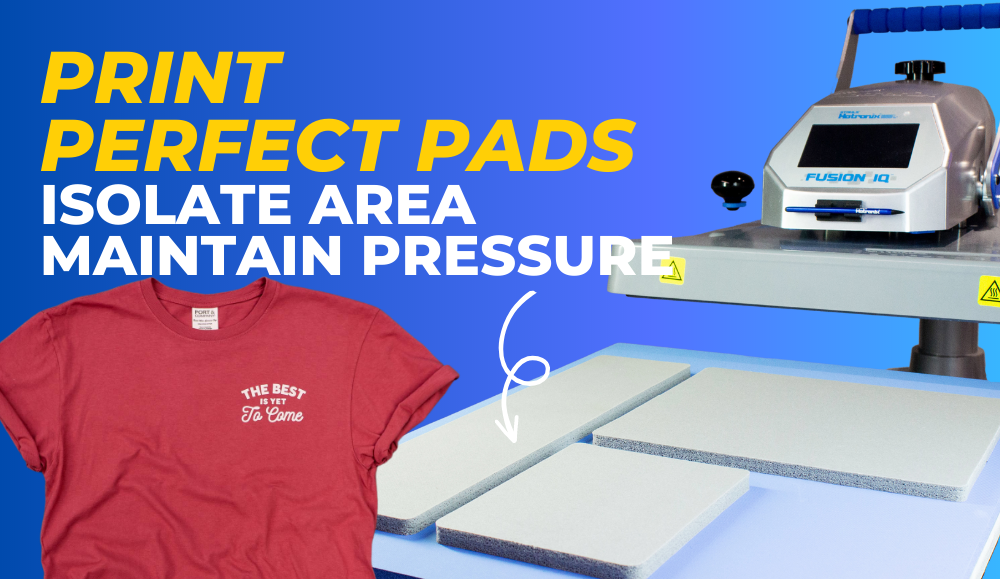
How to isolate the print area.
If you're working with a heat press that doesn't offer the Hotronix interchangeable platen system, do not fear! We have accessories that will also help to isolate your print area.
Print Perfect Pads elevate designs for a perfect print every time and raise the printing area to work around zips or seams. They are the recommended accessory for screen printed or digital transfers because they maintain even pressure.
Ensure accurate placement
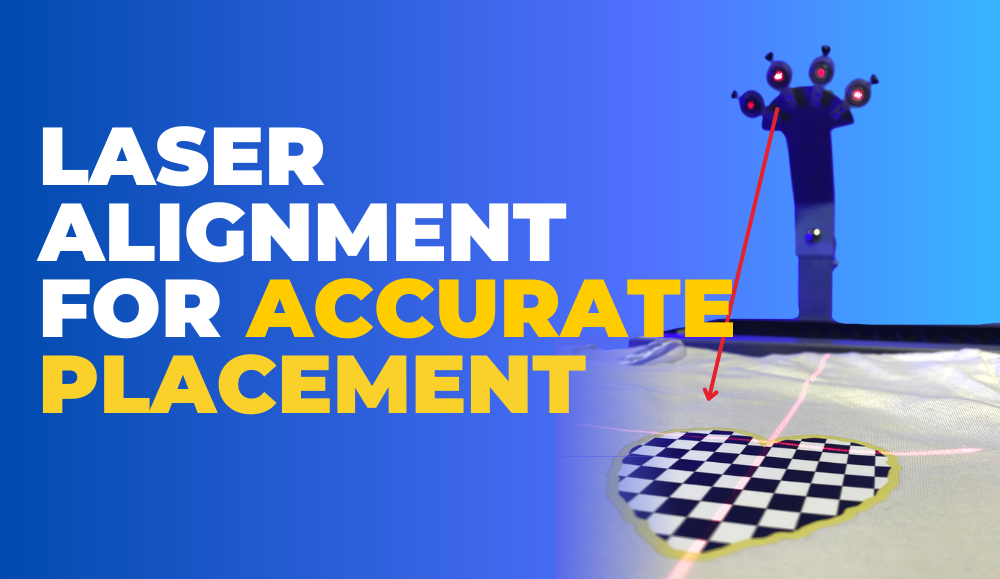
Finally, if you're going to print Left Chest regularly, the best way to maintain accurate placement is to use laser alignment.
With 4x moveable lasers, the Hotronix Laser Alignment system is simple to use but very effective in ensuring continuity in your printing practice.